Decorate

SHE Planted A Garden (at an apartment)

Thursday, May 26, 2016

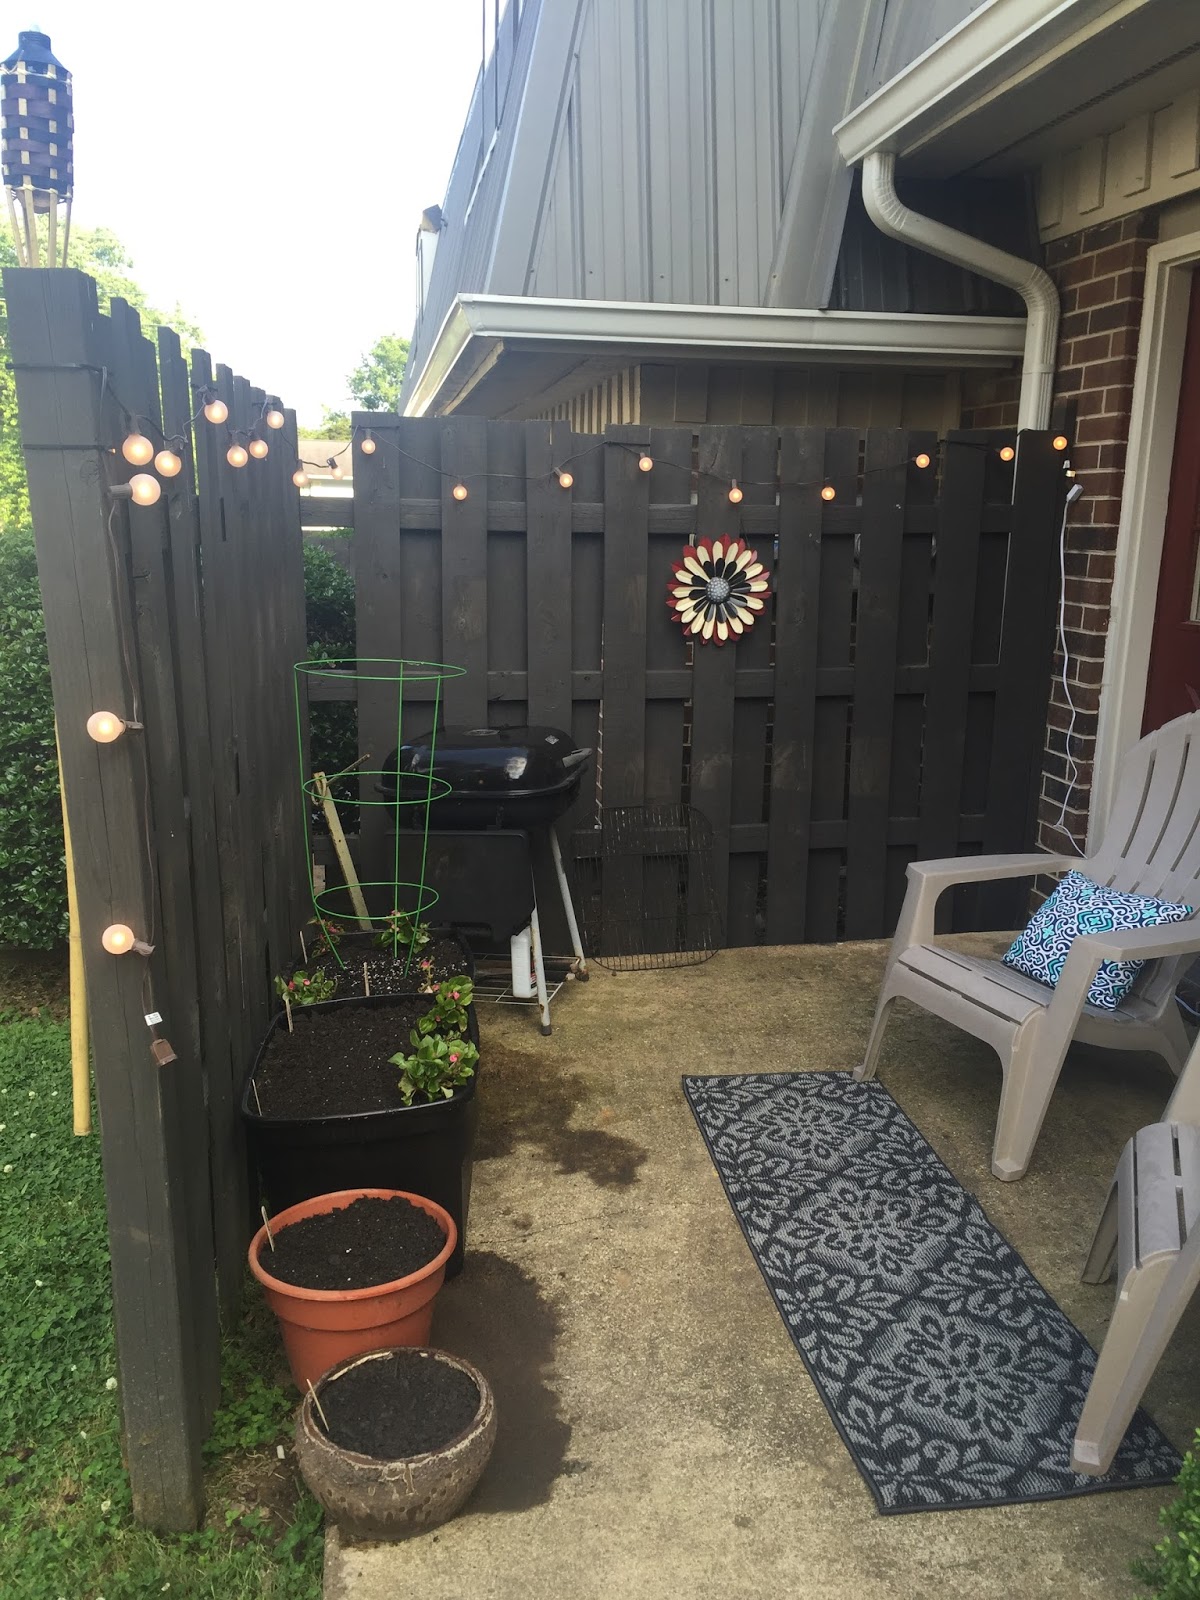
Morning y'all! So this past weekend Hubs and I decided we had enough with our boring back porch. So we decided to decorate it and plant a garden (and after seeing Brittney's garden we wanted one too!!). We both are wanting to spend a lot of time out here this summer so we knew it was time to get to work. One big problem here... we live in an apartment. So it's not like we can start digging holes. So today I'm sharing how we still made a garden and some before and after pictures of our porch! (it's probably going to be picture overload today - sorry!)

First, the before picture:

Before - Yuck!

Okay, so let's talk about this garden. We had an old pot and tote and then Nick's dad gave us another pot and tote.We love hand-me downs!


With the totes you will need to drill holes in the bottom so the water can drain.


Now that you've got the holes you're ready to paint the totes. I mean this step isn't completely necessary, but I didn't want blue and green totes on my back porch! 

So I grabbed a bottle of spray paint. Get any color you want, just check for two things. 1. That it bonds to plastic and 2. that it is for outdoors!

This is what I used! This bottle covered both totes but just barely got the second one done.
Hubs was really into taking pictures for this post and was snapping them every time I turned around!

Ta-da! Doesn't that look so much better?!


While those were drying I started planting my succulents (completely for decoration!)


At this point, Mack was bored and found himself a spot in the shade and in a hole he dug the other day (oops)!


Okay, now they were dry. Time to plant the garden! You'll notice that I sprayed about 1/3 of the way down into the inside so that you wouldn't ever see the blue or green!

You're going to want to fill the bottom of your tote with something. The holes will let the water seep out, but also the soil.  We used some bottle caps (my in-laws have been collecting them for years so this was our free option!!), you can also use small rocks.


Next, a layer of sand. This will hold the moisture in the tote since you aren't planting in the ground!
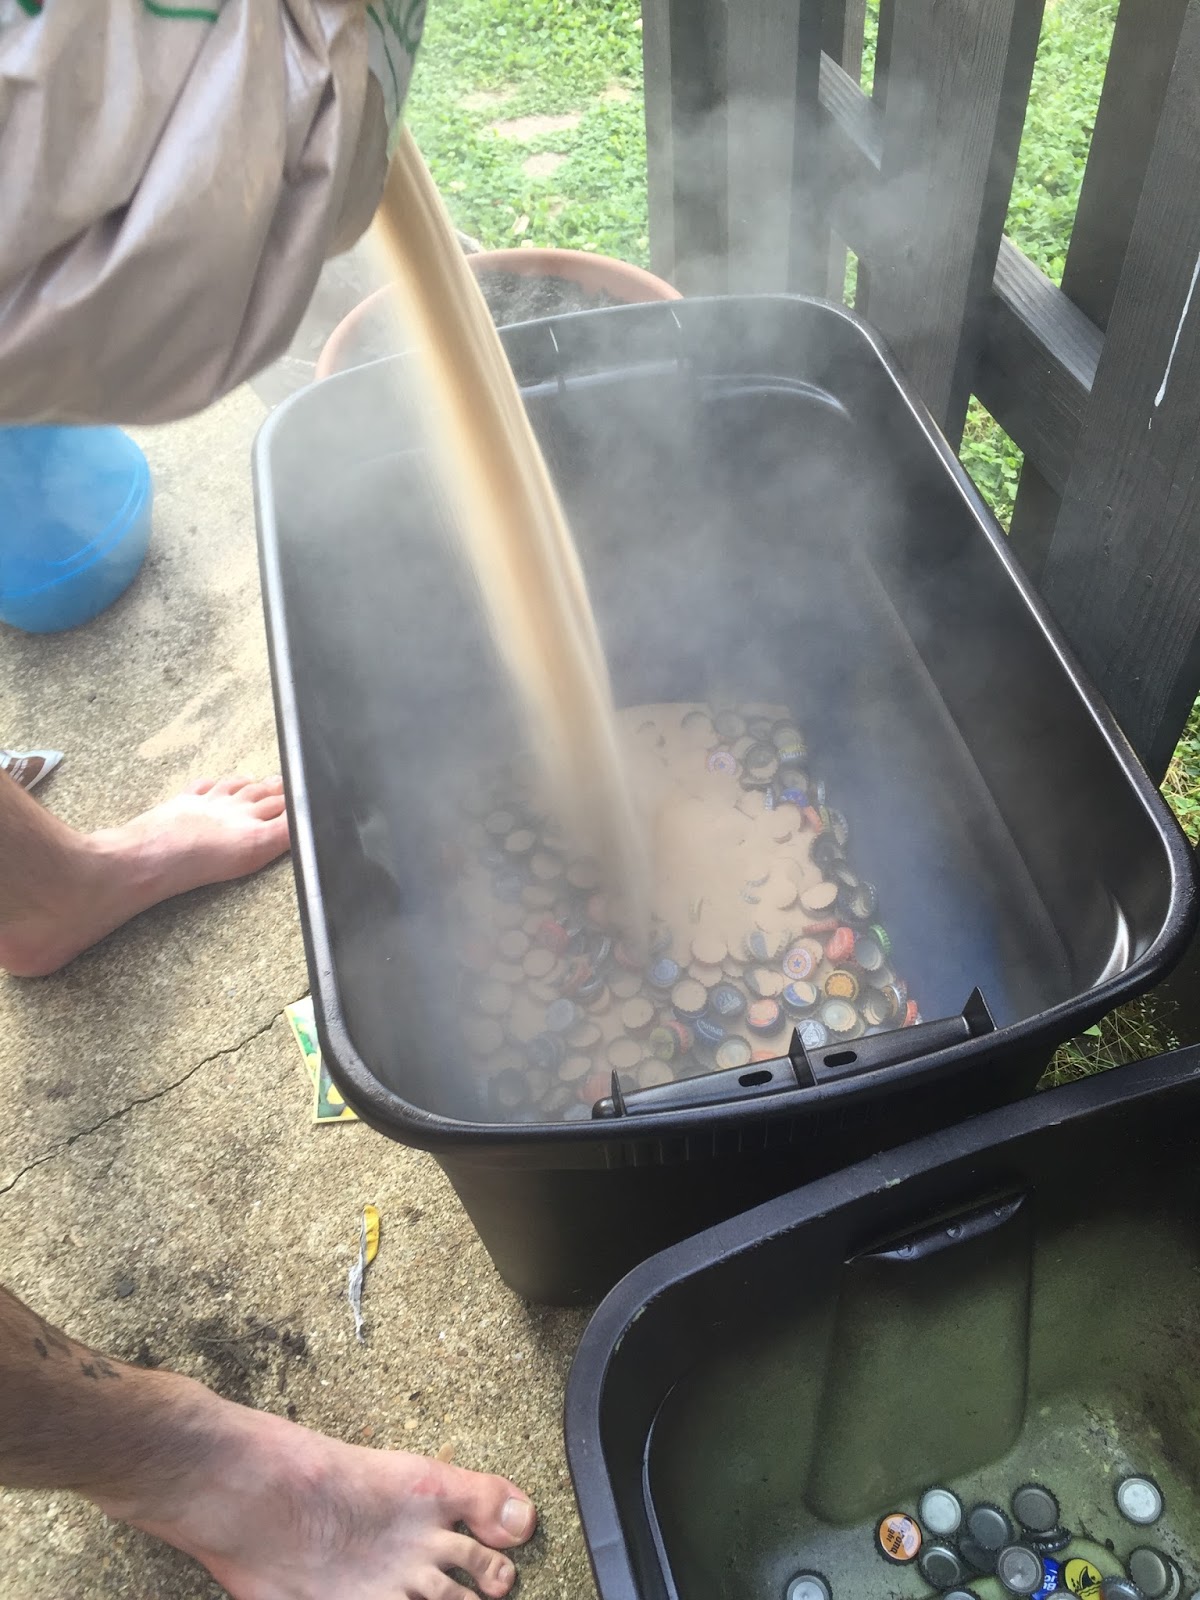


Now fill those bad boys to the top with soil! (We used eight bags between all our pots)


Then you can start planting as normal!


This tote is okra and tomatoes!


This one is squash and zucchini!


The big pot is cucumbers and the small one is sunflowers!


I've very impatiently waiting on them to start growing!!

Now for the after pictures!


Isn't that so much better?

Have you ever done anything like this? I'd love to hear how it went.

xo Courtney


SHE Planted A Garden (at an apartment)

Thursday, May 26, 2016

SHE Decorates: DIY Burlap Wreath

Friday, December 11, 2015

 
Hey y’all! Today I’m sharing how to make a burlap wreath for your front door! Perfect for Christmas time (or honestly any time with the right decorations!).

This wreath is so easy to make – it took me 30 minutes and that was with me stopping to take pictures and redoing one section because I didn’t like it! Also, if you hit up Hobby Lobby when ribbon is on sale it’s cheap! (I’m talking $20 for everything)

To start you need your supplies. A floral wreath (I choose the one with eight sections), burlap (for the eight section wreath you will need four 15ft rolls), and something to decorate with. I’m doing a bow so I picked up some ribbon. If you’re choosing to do a bow, please (and I can’t say please enough) get ribbon with a WIRED EDGE. You’ll thank me later.
 
 
Pick a section and start at the edge. While holding the end of the burlap push a loop through the top row…


Repeat that step with the middle row and then the last row.

Now shove those three loops up against the edge you started with and repeat. Top, middle, bottom. Top, middle, bottom. Got it?


I’ve found that each roll of burlap does two sections. When you get to the end just tuck whatever is left under one of the rows and start the next roll. 


Once you’re done you’ll want to go back in and fluff because it was probably squished in the creation process!
 
Now that the wreath is done let’s decorate! I chose to do a double loop bow. To create you’ll want to make four loops while making sure there is a “tail” left on both sides.


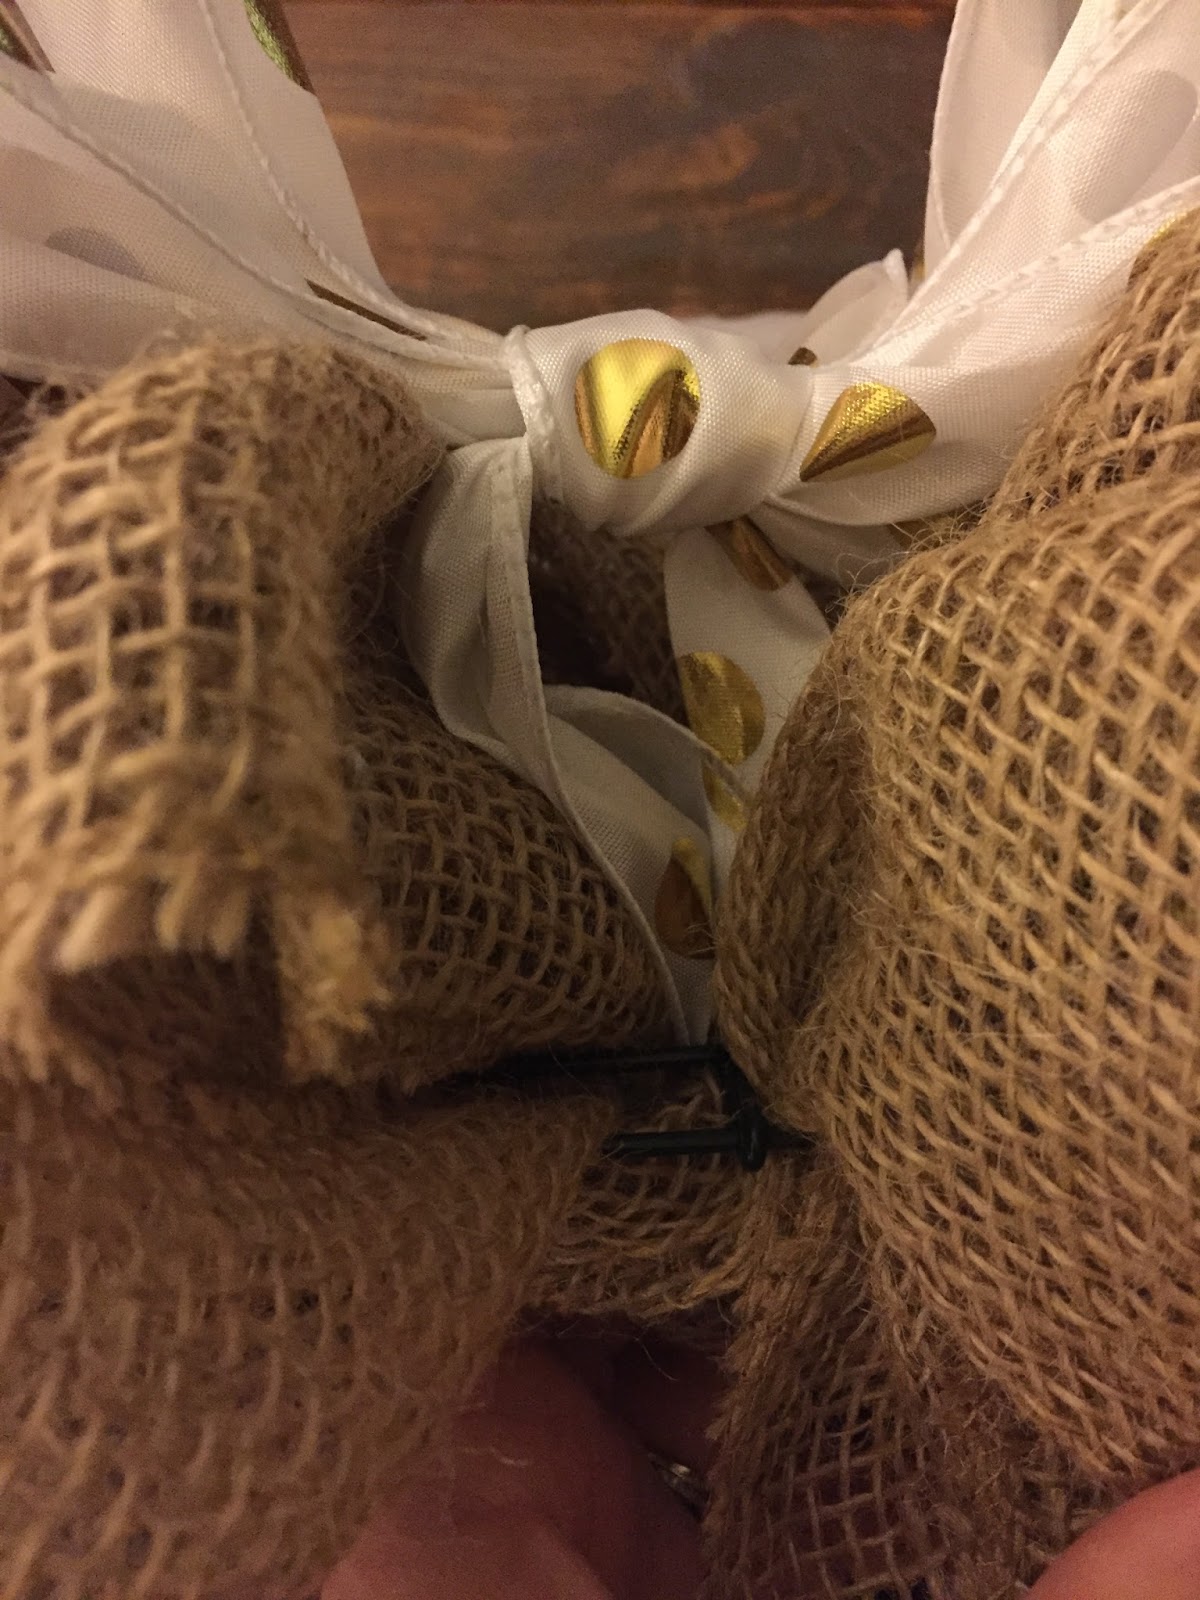
Separate two and two and tie like you would your shoes. Pull good and tight!  
 
 
It looks rough I know. This is why you need wired edge ribbon, because now you can just fluff!


Next cut a strip from the ribbon and fold in half.
 
 
Lay it on top of the middle of your bow and tie in the back. This gives you a pretty middle and a tie to attach to the wreath.


Pick where you want it to go and push aside your burlap so you can see the wreath.
 
 
When you tie the bow onto the wreath, make sure to leave plenty of room so that your bow isn’t squished into the burlap. See… 
 

Now re-fluff the burlap you just moved around and re-fluff your bow.

Ta-da! The possibilities of this are endless. Just untie your bow and add another season appropriate bow or decoration. You can have a different wreath all year with the same base!


If you make one comment with pictures.

I’d LOVE to see it!

Xo Courtney
 

SHE Decorates: DIY Burlap Wreath

Friday, December 11, 2015

Gingerbread Cookies!

Friday, December 4, 2015

 
Happy National Cookie Day! What a glorious day this is! I love all kinds of cookies, but this time of year my favorite is definitely gingerbread.
 
This year I tried out a new recipe. It does not require any chill time (yay!) and the dough holds it's shape while baking. I mean what is better than that? Let's get started...
 
 
You'll need to gather your ingredients, I've listed the recipe at the bottom. Mix your flour, salt, and spices and set aside.

 
In your mixer, cream together your butter and brown sugar. Add the egg and mix until incorporated. Add the molasses (my favorite part of these cookies - I love the way it smells!!), and vanilla. Slowly mix in your flour until it is all mixed in.

 
Lay out some wax paper and spread some flour on it. This will be your work area to roll out your dough.

 
I like to work in small chunks of the dough instead of all at once. I personally think it makes it easier, but you do what is best for you!

 
Roll your dough out to about 1/4 of an inch.

 
Now for the fun part - cutting out your cookies!!


Then gather up your scraps and roll them back out and cut some more.

 
I also like to make some plain ole round ones. I wanted bite size and didn't have a cookie cutter small enough so I improvised with the top of a shot glass. This will work with any glass you have.


I failed to get a picture making the icing - I was too excited!! But I've got the recipe for you at the bottom.
 
 
Decorating the cookies are my favorite part. Get creative! You can also add food coloring to the icing if you want different colors.

 
See my SHE cookie for the blog?

 
I hope you make these and love them as much as I do!
 
Recipe
 
Cookies
3 Cups All-Purpose Flour
1/2 Teaspoon Salt
1 Tablespoon Ground Ginger
2 Teaspoon Ground Cinnamon
1/4 Teaspoon Ground Cloves
6 Tablespoons Unsalted Butter, Room Temperature
3/4 Cup Dark Brown Sugar
1 Large Egg
1/2 Cup Molasses
2 Teaspoons Vanilla
 
1. Preheat oven to 375 F.
2. Whisk the flour, salt, and spices together in a bowl. Set aside.
3. In your mixer's bowl, cream together the butter and sugar until they've just come together. You don't want it too fluffy.
4. Add the egg and mix.
5. Add the molasses and vanilla. Mix until incorporated.
6. Slowly mix in the flour mixture until your dough forms.
7. Roll out on a lightly floured surface until your dough is about 1/4 inch thick. Bake for 8-9 minutes. (I would start checking after five minutes. My round ones were perfect after five. The gingerbread men were too dry after eight minutes so next time I'll do six or seven. It all depends on your oven.)
8. If you're not immediately making the cookies, wrap the dough in plastic wrap and refrigerate (or freeze) until you are ready. Before using, make sure the dough is room temperature.
 
Icing
1 Cup Confectioners Sugar
2 Teaspoons Milk
2 Teaspoons Corn Syrup
1/4 Teaspoon Almond Extract
Food Coloring (optional)
 
1. Add confectioners sugar to a mixing bowl and with a wire whisk start mixing on low.
2. Add the milk, corn syrup, and almond extract and whip until smooth.
3. Add more corn syrup if it is too thick to use, but be careful not to add too much or it will run right off the cookie.
(you may need to double the recipe, so make sure you have enough of the ingredients in your kitchen!)


xo Courtney

Gingerbread Cookies!

Friday, December 4, 2015

Latest Instagrams

© SHE Degree. Design by FCD.