

Hey y’all! Today I’m sharing how to make a burlap wreath for your front door! Perfect for Christmas time (or honestly any time with the right decorations!).
This wreath is so easy to make – it took me 30 minutes and that was with me stopping to take pictures and redoing one section because I didn’t like it! Also, if you hit up Hobby Lobby when ribbon is on sale it’s cheap! (I’m talking $20 for everything)
To start you need your supplies. A floral wreath (I choose the one with eight sections), burlap (for the eight section wreath you will need four 15ft rolls), and something to decorate with. I’m doing a bow so I picked up some ribbon. If you’re choosing to do a bow, please (and I can’t say please enough) get ribbon with a WIRED EDGE. You’ll thank me later.

Pick a section and start at the edge. While holding the end
of the burlap push a loop through the top row…


Repeat that step with the middle row and then the last row.
Now shove those three loops up against the edge you started with and repeat. Top, middle, bottom. Top, middle, bottom. Got it?

I’ve found that each roll of burlap does two sections. When you get to the end just tuck whatever is left under one of the rows and start the next roll.


Once you’re done you’ll want to go back in and fluff because it was probably squished in the creation process!

Now that the wreath is done let’s decorate! I chose to do a double loop bow. To create you’ll want to make four loops while making sure there is a “tail” left on both sides.


Separate two and two and tie like you would your shoes. Pull good and tight!


It looks rough I know. This is why you need wired edge ribbon, because now you can just fluff!


Next cut a strip from the ribbon and fold in half.

Lay it on top of the middle of your bow and tie in the back. This gives you a pretty middle and a tie to attach to the wreath.


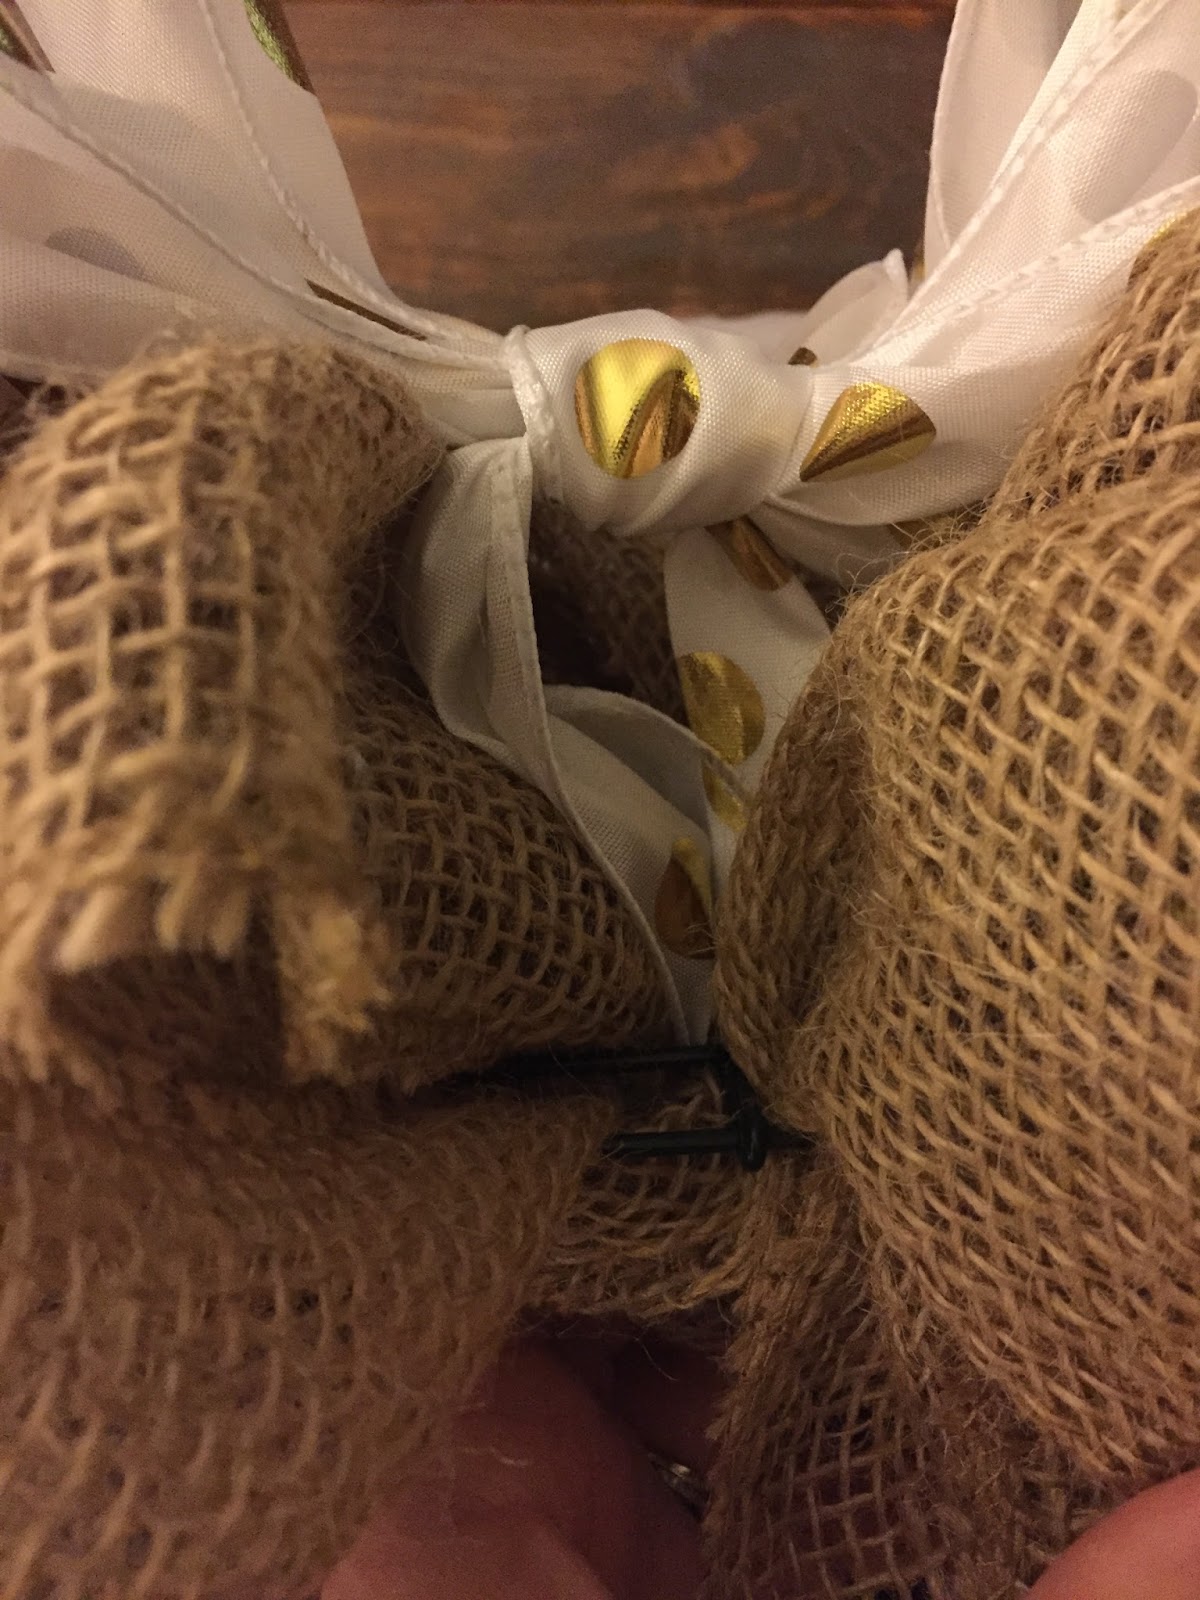
Pick where you want it to go and push aside your burlap so you can see the wreath.

When you tie the bow onto the wreath, make sure to leave plenty of room so that your bow isn’t squished into the burlap. See…
Now re-fluff the burlap you just moved around and re-fluff your bow.
Ta-da! The possibilities of this are endless. Just untie your bow and add another season appropriate bow or decoration. You can have a different wreath all year with the same base!

If you make one comment with pictures.
I’d LOVE to see it!
Xo Courtney


Post a Comment